This is my first time making a tutorial…so I thought I’d start with something pretty easy. My black lace-up boots have been needing new laces. The old ones were knotted and ratty. This weekend, I saw this book about creative handspun yarn with instructions to make some cool felted shoelaces and it got me thinking…. I’m planning to attend a spinning workshop in February (that’s spinning with fibers and a spinning wheel – not exercise bikes!) at the local yarn store here in Catonsville, Cloverhill Yarn. And Lucy and I made some drop spindles with dowels and sculpey a couple of months ago, but they don’t work too well. So eventually maybe I’ll handspin some funky laces, but I wanted something I could do now.
I thought about knitting i-cord laces, but that sounded pretty time consuming, and this thing-a-day blog has me thinking about quick projects. So I decided the easiest and fastest method to make some felted multi-colored laces would be braiding wool yarn, then wet-felting it. Here’s how I did it:
 I took out the old laces and measured them. They were about 36 inches long. How much wool shrinks when felted really varies, so I thought it would be best to make a little test swatch to measure the shrinkage rate.
- I cut about 10 inches of three colors of wool yarn for my test swatch. I had used all of these colors to make felted projects before, so I knew they would work well (some wool is “washable wool” and won’t felt properly.) Then I braided them and measured. With knots at both ends, it was about 8 1/2 inches long.

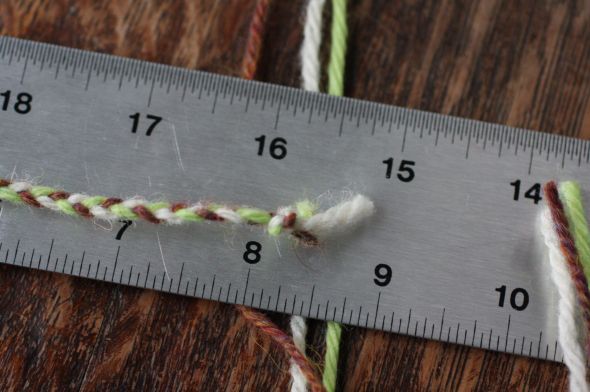
- Next, I squeezed on some dish soap, got the water in the sink as hot as I could stand, and started rubbing and sudsing up the yarn.
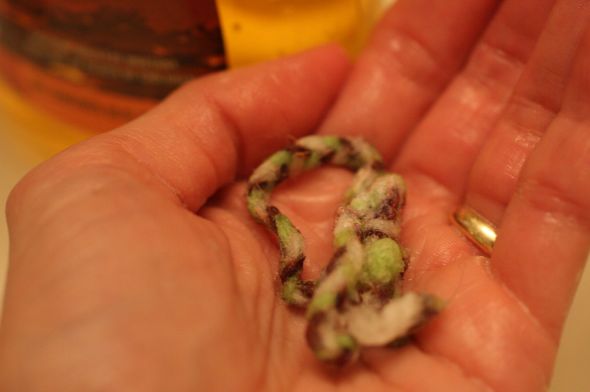
- I rubbed and scrubbed it together until it felt tougher and thicker, and the colors all blended together. When you felt, little hooks in the wool grab each other and make it into a dense mat. I couldn’t unbraid it now if I tried.

- Then I squeezed out the water and tossed it in with a load of laundry in the drier before I measured it. With the knots cut off the ends, it was 4 1/2 inches. Almost 50% shrinkage. So if I wanted 36 inch laces, I needed at least 72 inches of yarn.

- So, I decided if I’m going to make my own shoelaces, something as subtle as my test swatch wouldn’t do – at least not for the first set of laces! Instead I chose magenta and orange I had left from making felted Easter eggs, and added a mottled dark purple wool.

- I measured 72 inches of each, tied a knot, taped it down, and started braiding. Keeping the yarn from tangling while braiding quickly was the only tricky part. It didn’t really work to keep the yarn in little balls. I ended up just straightening things out every five moves or so.
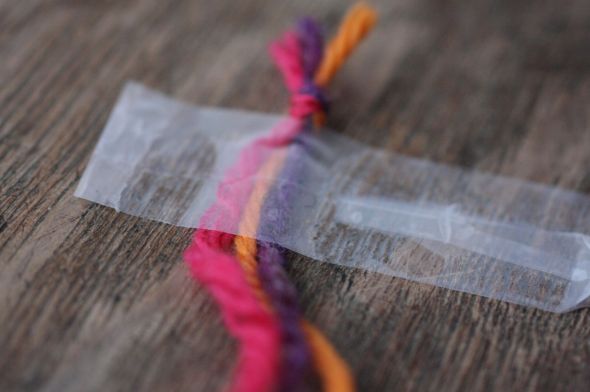


- After it was braided, I knotted the end and felted it as above. I could have made two, and felted them at the same time, but I was eager to see if it worked. Soap, hot water suds and scrub for several minutes, cold water shock, and squeeze dry.


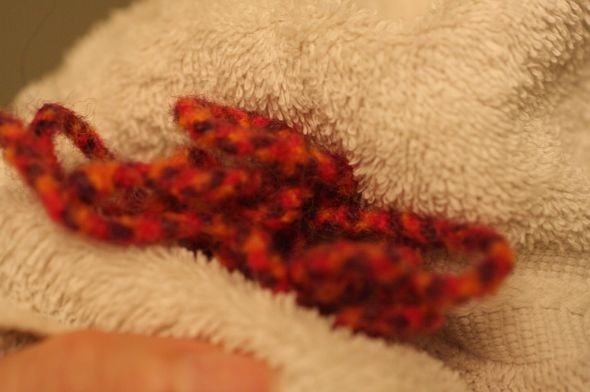
- I cut off the knots and measured it — exactly 36 inches! Exactly 50% shrinkage, including braiding and felting.


- I laced up the boots!

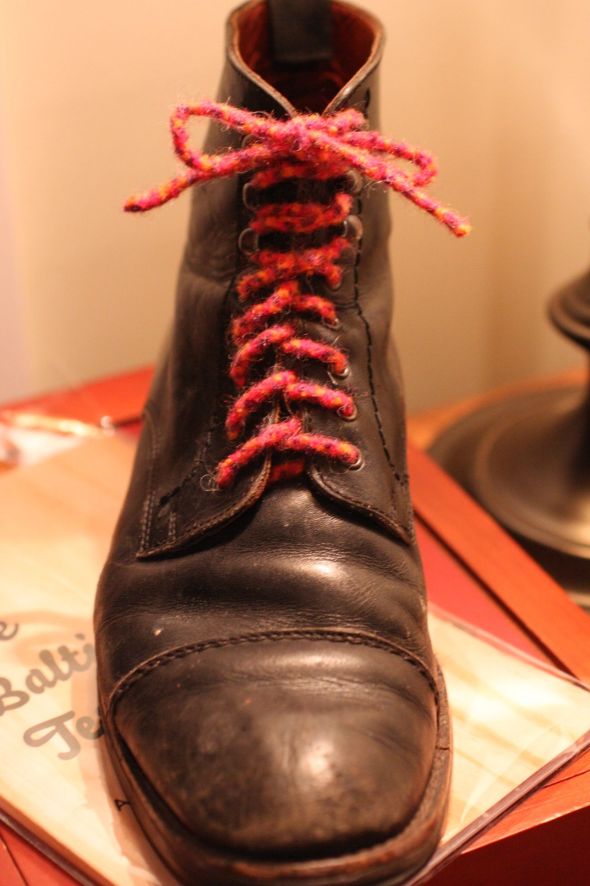
Now, the next step, maybe tomorrow, is to make little tips for the laces. Did you know that they have a name? They are called aglets. Thanks to Ian’s Shoelace Site, I now know all about aglets, and all the different ways to repair damaged aglets. I think I’ll go for either the electrical heat shrink tubing or the metal tubing. Nothing but the finest for my hand-felted laces!
Unfortunately, I will need to wait until tomorrow to make the mate for this lace, so I can’t wear the boots yet. I’ll post a picture when I do.
Bye for now.

Brilliant! you make it sound so simple all I need are the boots! Many other uses for braided felted laces………..
Thanks for your comment, Christine! (the first comment on my first online tutorial). This is my first time making this project, but it was very easy. I’ll follow up soon with how to make the aglets (shoelace tips). Making a test swatch for shrinkage is probably wisest, but I think you would be OK if you double the length of the yarn and add a bit for good measure.
You are indeed a chip off the older block! Can’t imagine where you get such talent! These are fabulous, and seem easy enough for former knitters like myself who are far behind in the creative world of current trends in knitting. Congrats and what a great start, look forward to more tutorials, fondly, Carli Stevens PS, wild shoelaces were the favorite prize in our elementary school walking club at lunch time, stickers are passe!
Hi Carli – it does run in the family! Maybe I’ll try to make an even wilder pair of laces…braiding in some sparkly embroidery floss or something. If you make some, send me a picture.
These are fabulous! Now all I need are a pair of boots!
Thanks, everyone! I bet there are lots of use for felted cord like this. Anyone have any ideas? Make some and share a picture of how you used it.
Today I’ll make the second lace and take a picture with the boots on.
I love the laces and I love the tutorial. It’s nice to see the whole “process” of figuring it all out and not just the process of making it. Seriously, this can’t be your first tutorial….you’ve been teaching for ages. Oh, I miss your creative inspiration.
Thanks, Michele – I miss your inspiration too! True, I’ve been teaching for a long time, and sharing how to make art, crafts, and projects. But this was the first time I put something like this, step-by-step, online. It’s pretty tricky to take a good photo of the felting process single-handedly without getting soap on the camera!